
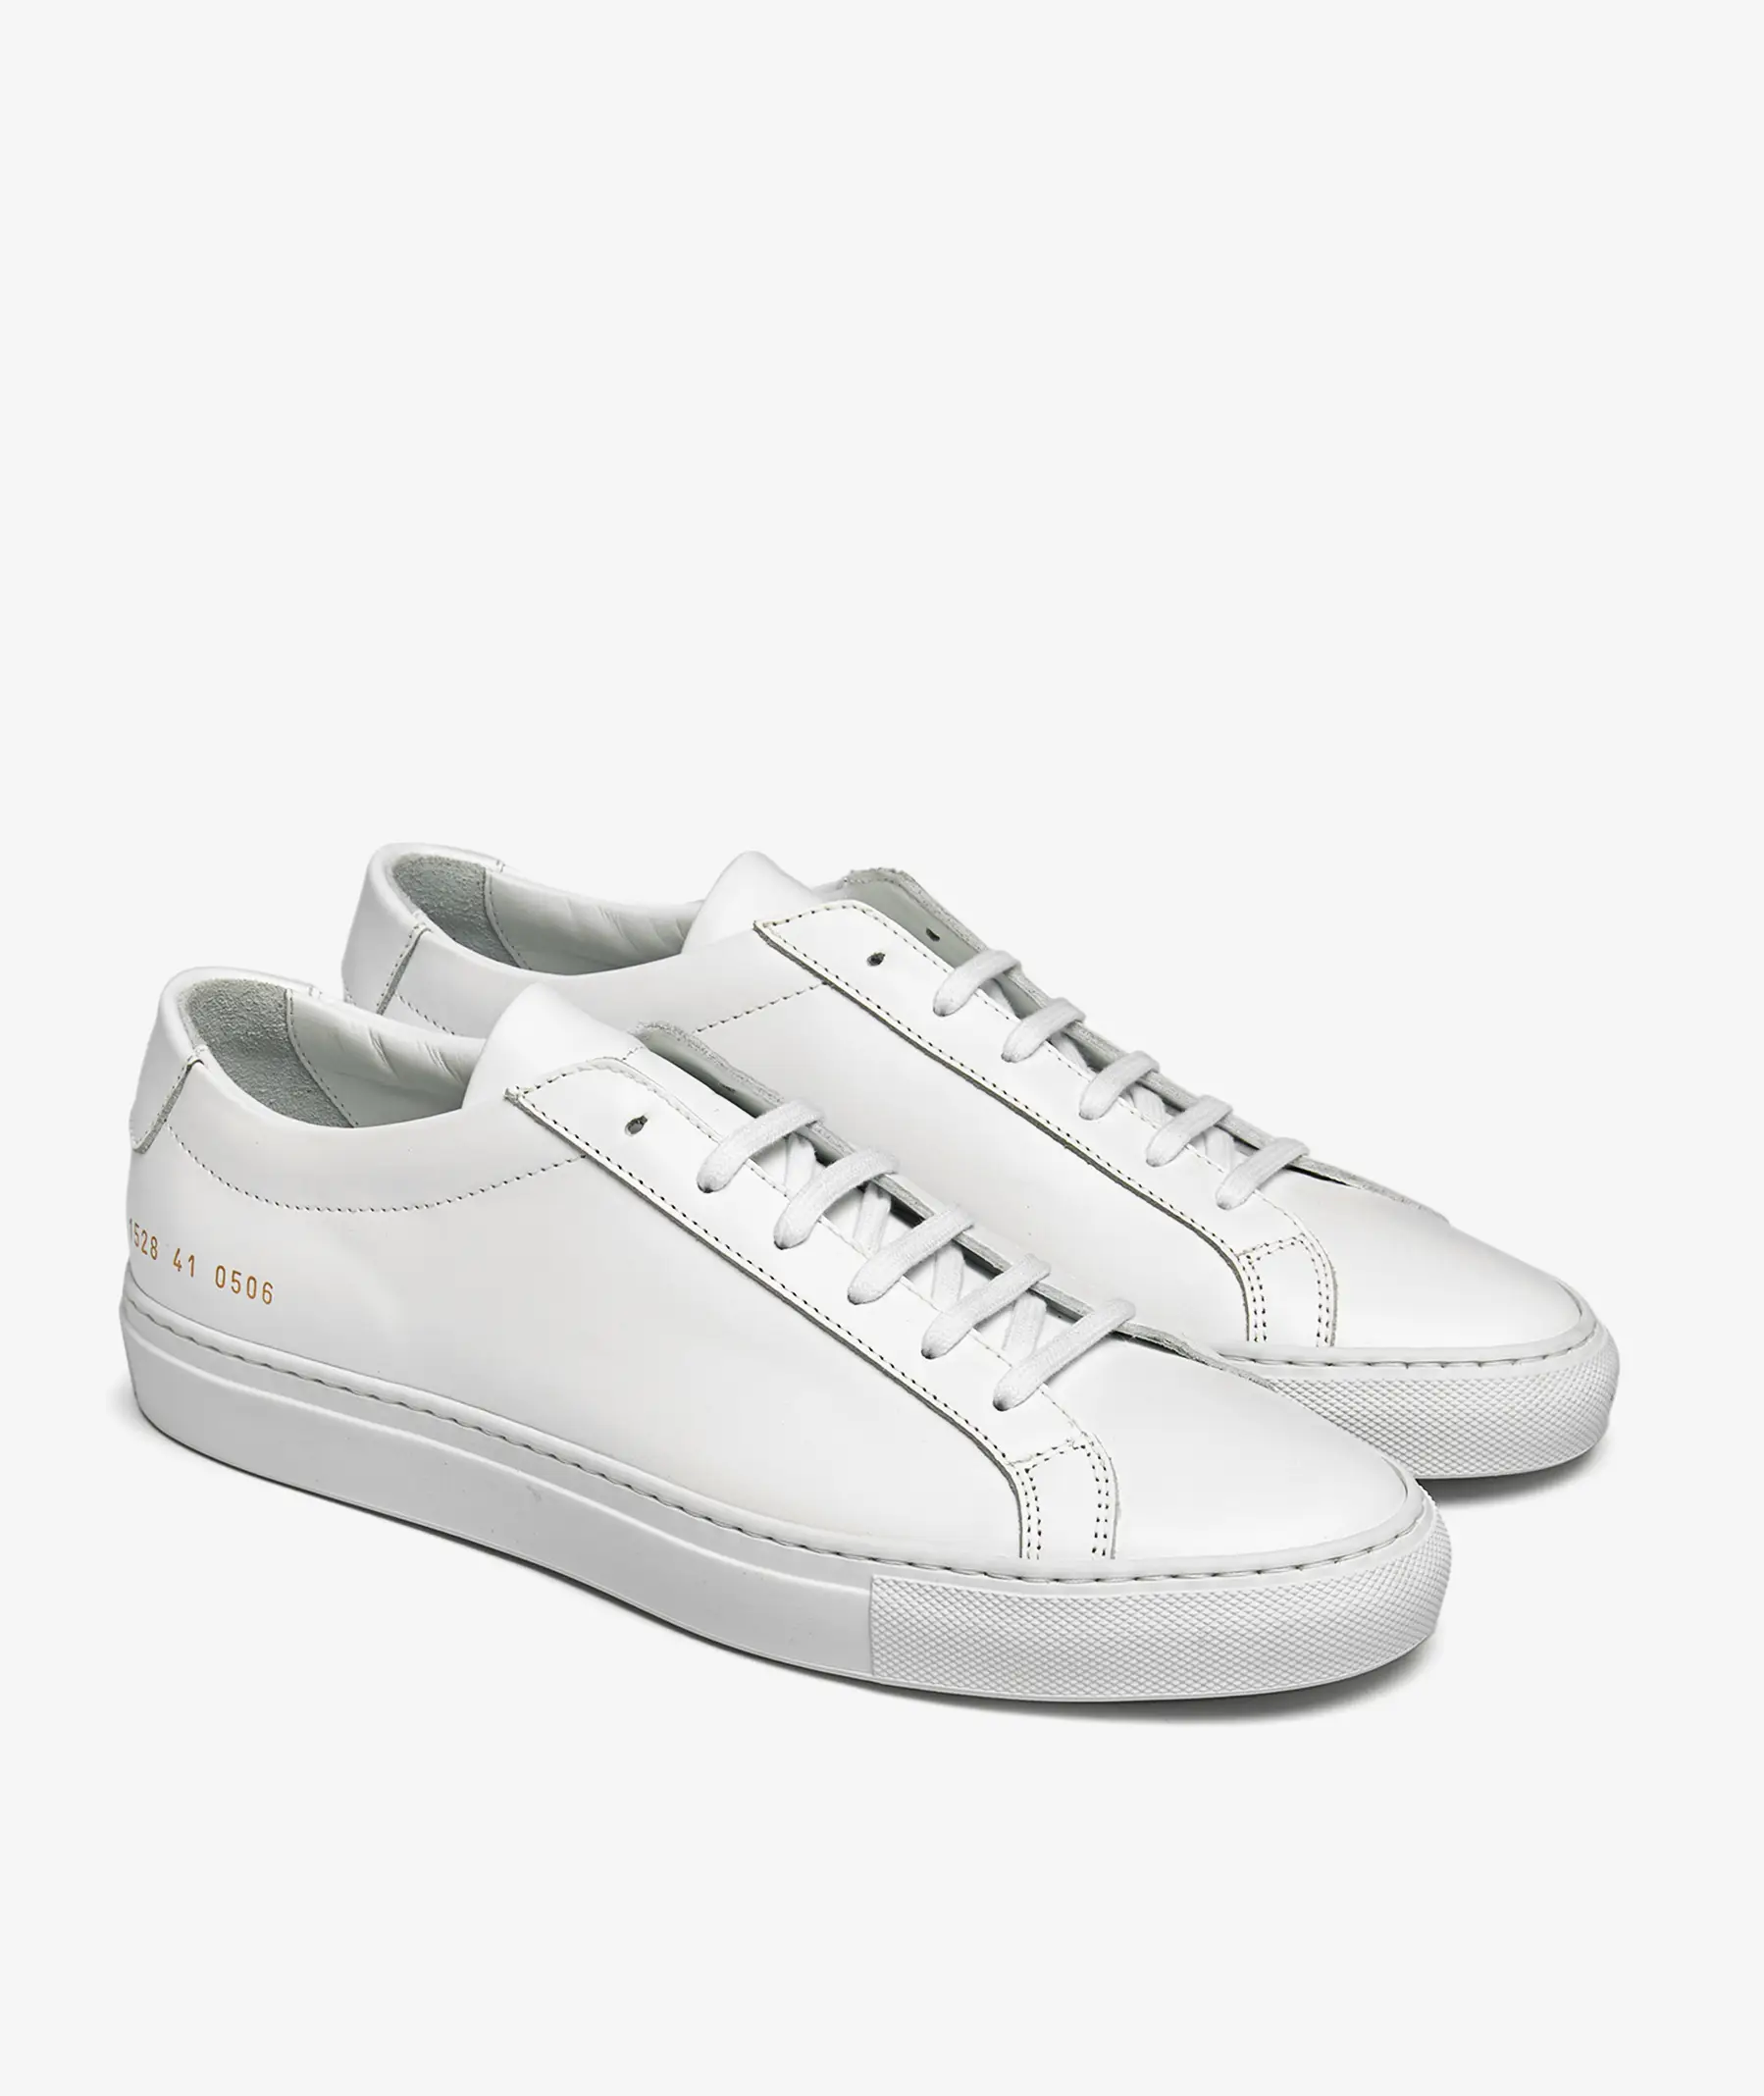
How to Lace Common Projects Achilles Low Sneakers: Three Methods for Every Style
The Common Projects Achilles Low is defined by its minimalist silhouette, and the way you lace it directly affects both fit and aesthetic. Whether you prefer the parallel bars of straight European lacing or the traditional criss-cross, each method changes how the shoe sits on your foot and how the upper drapes.
We’re sharing three techniques we see most often in our community—straight bar lacing for that signature clean look, criss-cross for everyday comfort and adjustability, and hidden lacing for a seamless profile. Each works with the Achilles Low’s six-eyelet construction, and the choice comes down to your fit preference and the look you want.
Straight Bar Lacing: The Signature Clean Look
Straight bar lacing—also called European or ladder lacing—creates horizontal lines across the vamp and eliminates diagonal crossovers. This is the method most product photography shows because it emphasizes the shoe’s streamlined upper.
Start by feeding the lace through the bottom two eyelets from underneath, so both ends emerge on top and the first bar sits flush against the leather. Take the right lace straight up on the inside of the shoe to the second eyelet on the same side, then across to the left. The left lace skips the second eyelet entirely and runs inside to the third eyelet on its side, then across. Continue this alternating skip pattern—one side moves up two rows while the other crosses—to the top.
The result is six parallel bars with no visible diagonals. Tension is less adjustable than criss-cross, so this method works best if your Achilles Low already fits snugly. If you need to tweak fit on the fly, the next method gives you more control.
Criss-Cross Lacing: Adjustability and Even Pressure
Criss-cross is the default lacing on most sneakers because it distributes pressure evenly and lets you tighten or loosen specific zones. For the Achilles Low, it sacrifices some visual simplicity but adds functional comfort, especially during break-in.
Feed the lace through the bottom eyelets from underneath so both ends start on top. Cross the right lace diagonally to the second eyelet on the left side, threading from the top down so the lace disappears inside. Do the same with the left lace crossing to the right. Continue this X pattern all the way up, keeping moderate tension so the leather upper doesn’t pucker.
The same care you’d apply when cleaning the white leather applies to threading—avoid forcing eyelets or over-tightening in one area, which can distort the shape over time. Criss-cross also makes it easy to adjust midday if your foot swells or you want a looser feel.
Hidden Lacing: Seamless Profile with No Bow
Hidden lacing tucks the knot and excess lace inside the shoe, leaving the tongue completely clean. This works well for low-profile styling or when you want the gold serial number on the heel counter to be the only visible detail.
Start with either straight bar or criss-cross, but leave the final top eyelets unthreaded. Once you’ve laced to the second-from-top eyelet, tie a small tight knot or bow at that level, then tuck the entire knot and both lace ends down inside the shoe between the tongue and the lining. The tongue stays centered, and nothing protrudes above the collar.
This method requires the shoe to already fit well without needing retightening—you’re effectively locking the fit in place. It’s common in minimalist sneaker styling and pairs naturally with cropped trousers or no-show socks.

Tension, Symmetry, and Lace Length
Matching Tension Across Both Sides
One of the most common issues with how to lace Common Projects is uneven tension—one side pulled tight while the other stays loose. This causes the tongue to shift off-center and the collar to dig into one ankle more than the other. After threading each cross or bar, pause and equalize the lengths of both lace ends before moving to the next eyelet.
Lace Length and Replacement
The Achilles Low ships with flat waxed cotton laces approximately 120 cm long, which is the correct length for six eyelets with enough left over to tie a small bow. If you’re replacing laces, anything between 115 cm and 130 cm works depending on whether you want a compact knot or more length to wrap. Longer laces (140 cm+) will drag or require double-knotting, which adds bulk the shoe’s design doesn’t accommodate well.
Round laces change the look significantly—they’re easier to tighten but create more visual weight across the vamp. Flat laces keep the low-profile aesthetic intact and are the style we use across our entire Achilles Low lineup.
Finding Your Method
How to lace Common Projects comes down to balancing the look you want with the fit you need. Straight bar lacing delivers the cleanest visual lines and is worth the minor loss of adjustability if your Achilles Low already fits well. Criss-cross gives you more control during break-in and throughout the day, and hidden lacing eliminates the bow entirely for a seamless profile.
None of these methods is permanently locked in—you can switch between them depending on the occasion or how the leather feels that day. The construction and materials of modern shoelaces are standardized enough that experimenting with different techniques won’t damage the eyelets or upper, so it’s worth trying each to see what works for your foot shape and styling preference.
Notes
Yes, especially in the first few weeks. Criss-cross lacing distributes pressure more evenly across the vamp, which helps the leather conform to your foot shape without creating hard creases in one spot. Straight bar lacing looks cleaner but can concentrate flex points at the bars, which may slow break-in if the shoe is initially snug.
Once the leather has softened, the method matters less for comfort and becomes purely an aesthetic choice.
Skipping eyelets reduces overall support and can make the collar feel loose, which defeats the purpose of the Achilles Low’s structured heel counter. If the shoe feels too tight, it’s better to loosen the existing lacing incrementally or explore a half-size up rather than skip eyelets entirely.
The six-eyelet design is already minimal—removing contact points usually creates more problems than it solves.
Criss-cross with slightly looser tension in the middle three eyelets gives wide feet more room across the forefoot while keeping the heel locked. You can also try threading each cross from the outside in (rather than inside out), which creates a bit more space in the vamp without changing the visual pattern.
Straight bar lacing on wide feet often feels restrictive because there’s no diagonal give.
Flat waxed laces grip better than smooth round laces, but if you’re still getting frequent unties, the issue is usually knot technique rather than lace type. Use a double knot or a reef knot (right over left, then left over right) instead of a granny knot, which loosens under tension.
If the laces are brand new, they may also be slightly stiff—wearing the shoe for a few days softens the wax coating and improves knot friction.
Using all six eyelets provides the most secure fit and keeps the collar from gapping, which is important for the Achilles Low’s intended silhouette. Stopping at the fifth eyelet or below makes the collar flop open and exposes more of the tongue, which works against the shoe’s streamlined design.
The only exception is hidden lacing, where stopping one eyelet short lets you tuck the knot cleanly.